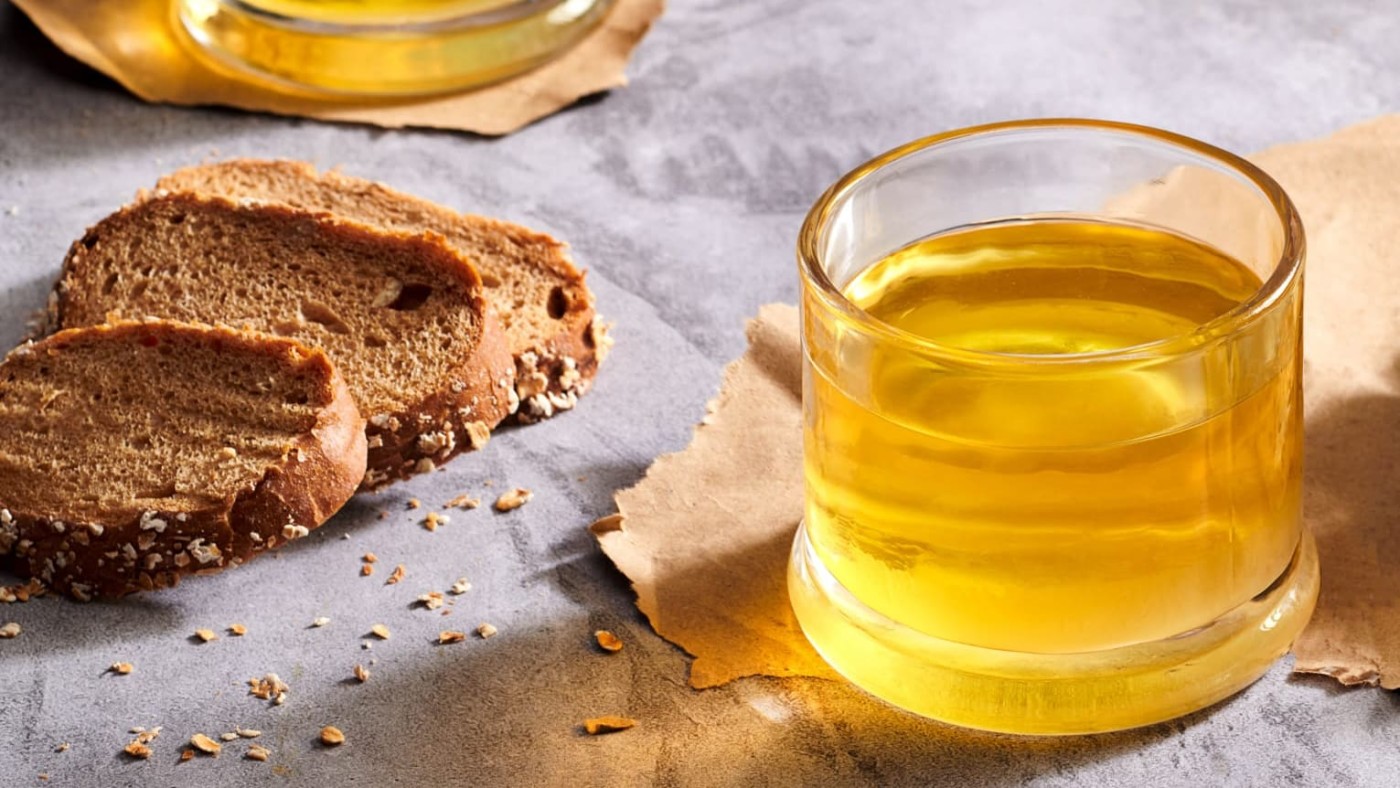
Cultured Butter & Ghee

Cultured Butter & Ghee
Description
Like many Indian families, we would heat milk, collect the cream, and churn it into butter every few weeks. My folks still make this simple white butter at home. With one extra fermentation step, you can easily make cultured butter and ghee, adding probiotics. Cultured butter is rich in vitamins, while ghee is lactose-free, high in omega-3s, and supports heart health.
NOTE
This recipe makes 300 g butter, which can be rendered into 250 ml ghee if desired.
Ingredients
10.5 oz (300 g) butter or 1 cup (250 ml) ghee MAKES
- 1 pint (500 ml) heavy cream
- 2 Tbsp fresh dahi, yogurt or kefir with live, active cultures
- 1-inch-long fresh turmeric root, peeled and sliced (optional)
- 6 black peppercorns (optional)
- 1 to 1 ½ cups ice water
- ¼ tsp Himalayan pink salt, or fine sea salt (optional)
Directions
-
Step 1
To culture the cream: Pour the cream into a mixing bowl and gently whisk in the dahi or yogurt. Pour this mixture into a jar along with the turmeric and black pepper (if using) and place the lid on top. Let it set for at least 12 hours, and up to 24 hours. The amount of time it takes to culture depends on climate and other factors. The cream is ready when it has thickened slightly, and is a little foamy. It will smell slightly sour and tangy. -
Step 2
Once the cream is cultured, pour it into a blender jar or food processor, straining out the turmeric and peppercorns. (If using a hand-beater or immersion blender, pour it into a mixing bowl.) Start to beat the cream on medium speed. The cream transforms to a whipped cream consistency, and gradually become grainy in 2 to 3 minutes. -
Step 3
Keep whipping until the solid mass (butter) and liquid (buttermilk) are separated. This will take roughly 5 minutes, depending on your blender. -
Step 4
Strain out the buttermilk (save it to use in ferments or other recipes) and place the butter in a mixing bowl with ½ a cup of ice water. Using a spatula, start massaging the butter to remove all the excess buttermilk. Drain and repeat 1 or 2 more times till the water is clear. -
Step 5
To season the butter: Skip this step if making ghee. Knead in salt (if using) to taste. Pack the butter into a jar or roll it into a log using parchment paper. The butter will last in the refrigerator for about 3 weeks, or it can be frozen for several months. -
Step 6
To make ghee: Place the unseasoned butter in a saucepan and heat on medium-low. The butter will melt and become frothy. Allow the butter to cook at a low temperature, stirring occasionally to prevent the milk solids from the sticking to the bottom and burning, until the liquid turns clear, and the solid flecks are a light, golden brown. Turn off the heat and allow the liquid to cool down. -
Step 7
Strain the liquid ghee, separating out the solids. Store the ghee in a jar at room temperature in a cool, dark place, or refrigerate it for better shelf-life. Save the milk solids from making ghee to use as a condiment—spread on toast, have them with flatbread, or add them to other dishes such as energy bars/balls for a nutty taste.
About the author
More by Moina Oberoi

Ayurveda Rasas
Learn to cook with the six rasas of Ayurveda through five simple recipes.

Beet Millet Pulao
Sweet doesn’t always mean dessert! In Ayurveda, the madhura rasa (sweet taste) is associated with energy-giving foods, like this millet pulao recipe from Moina Oberoi.

Candy Cane Beet & Carrot Kanji
Kanji is a refreshing, hydrating, probiotic Indian drink, packed with the goodness of carrot and beet. The most important ingredient is the winter sunlight!


