Pao Cai

Pao Cai
Description
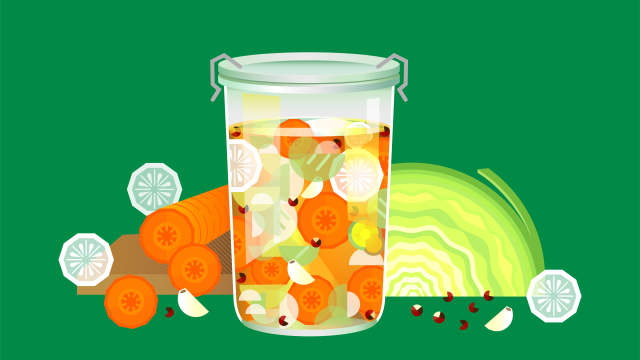
Pao cai is a crisp, tangy cabbage pickle flecked with carrots and infused with the tingly spice note of Sichuan peppercorns. Fermented brined pickles like pao cai support gut health, while radish adds fiber, vitamin C, and antioxidants that benefit liver function, heart health, and blood sugar control.
NOTE
This recipe can be halved easily, to yield 1 qt (1 L).
Ingredients
2 qt (2 L) MAKES
-
3 cups (710 ml) water
-
Salt
-
2 garlic cloves
-
1/2-inch piece of ginger, cut into 1/8-inch slices
-
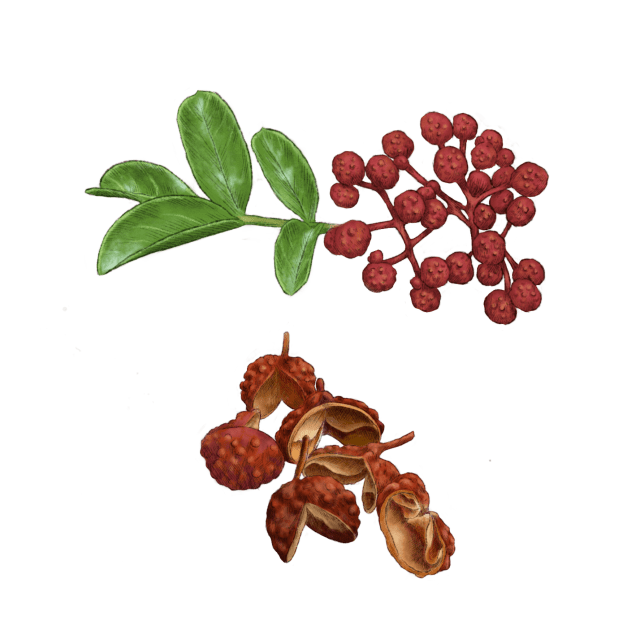
1/4 tsp Sichuan peppercorns
-
1 lb (450 g) green cabbage
-
1/2 lb (225 g) very fresh white radish, peeled
-
1/2 lb (225 g) carrot, peeled
-
3 Tbsp (45 ml) high-proof rice or sorghum wine (35% ABV or higher)
-
Drizzle of sesame oil for garnish
-
Toasted sesame seeds for garnish
-
2 qt (2 L) jar and a fermentation weight
Directions
-
Step 1
You will need a 5% salt brine for this pickle. To determine the amount of salt you need, multiply the weight of the water (710 g) by 0.05; for this recipe, you will need 35.5 g salt. Always weigh the salt, because varieties will differ in volume. -
Step 2
Heat the water in a medium pot over medium heat, and add the salt, garlic, ginger, and Sichuan peppercorns. Stir until the salt is dissolved and set aside to cool. Allow at least 1 hour to reach lukewarm temperature. -
Step 3
Remove the bruised or torn outer leaves of cabbage that are visibly compromised (save for soup, steaming, or stir fry), rinse the vegetables under running water, and drip dry in a colander. Trim the stem ends of all vegetables and remove any bruised or discolored areas. Slice the root vegetables into pieces no thicker than 1/3 inch. Tear cabbage leaves by hand, into rough pieces no larger than 1½ inches. Think pieces you can finish in one or two bites! -
Step 4
Pour the rice wine into the vessel and put the lid on, swirl it around to coat the interior, including the lid. Pour the alcohol into the brine, then pack the vegetables into the sterilized vessel and place a fitted weight on top, pour the brine in, and cover with a lid (as the brined vegetables become active, put the lid on loosely). No vegetables should be poking out past the brine level. -
Step 5
Check on your pickle aquarium daily and monitor for any unusual activity on the surface. Remove any scum or floating vegetables. Taste a sample in 2 days — it should be mildly tart! Allow to continue fermenting at room temperature for 2 or 3 more days and you’ll see the brine turn cloudy, and the cabbage will appear translucent, as if cooked. Refrigerate when you find the pickles to be super-delicious. Serve as a refreshing side dish or, if you’re feeling fancy, dress them up with a drizzle of sesame oil and toasted seeds before serving. You can also add the brine to brothy soups. These will keep in the refrigerator for up to 1 month.
Explore Recipe Ingredients


About the author

Jessica Wang
Jessica Wang is a trained pastry chef turned full-time pickler. An advocate for local produce, she juggles her time as the founder of fermentation workshop, Picklé, and the neighborhood market concept, Gu Grocery.
View profile